
Race start and finish arches
Measure the route and required clear height. Show which sides face approaching participants, cameras and spectators so sponsor graphics face the right direction.
A custom inflatable arch frames a race start, finish line or branded event entrance with your logo and campaign graphics. Choose the opening width and height around your site, then confirm the shape, printing, inflation method and anchoring. Send your layout and artwork so the factory can review your requirements.

Fully custom: made to your required dimensions, with no fixed standard sizes.
Race organizers need to confirm the clear opening, course position, sponsor artwork, power access and anchoring plan for an inflatable finish line arch. Mark the start finish arch on the route plan, including timing equipment, cable routes and the approach used by runners or vehicles. Review those details with the venue before approving the drawing.
Continuous-air arches use a running blower to maintain their shape; sealed arches retain air after inflation. Choose the principle around your access to power, operating plan and the structure agreed for your project. Confirm the available construction with the factory before specifying either option; inflation time, pressure and operating limits are product-specific.
Logo printing is positioned on the approved artwork layout for the arch crossbar and legs. Send vector artwork and identify the front and reverse views. Keep sponsor names inside the visible panel areas, away from seams and curves that can distort lettering. Review the design from the direction participants and event cameras will approach.
An outdoor arch needs an anchoring plan matched to its tie points, ground surface and venue conditions. Share site photographs and tell the installer whether ground fixings are permitted. Have the responsible installation team confirm the setup and operating instructions for the actual arch; do not infer ballast weights or wind limits from a gallery photograph.
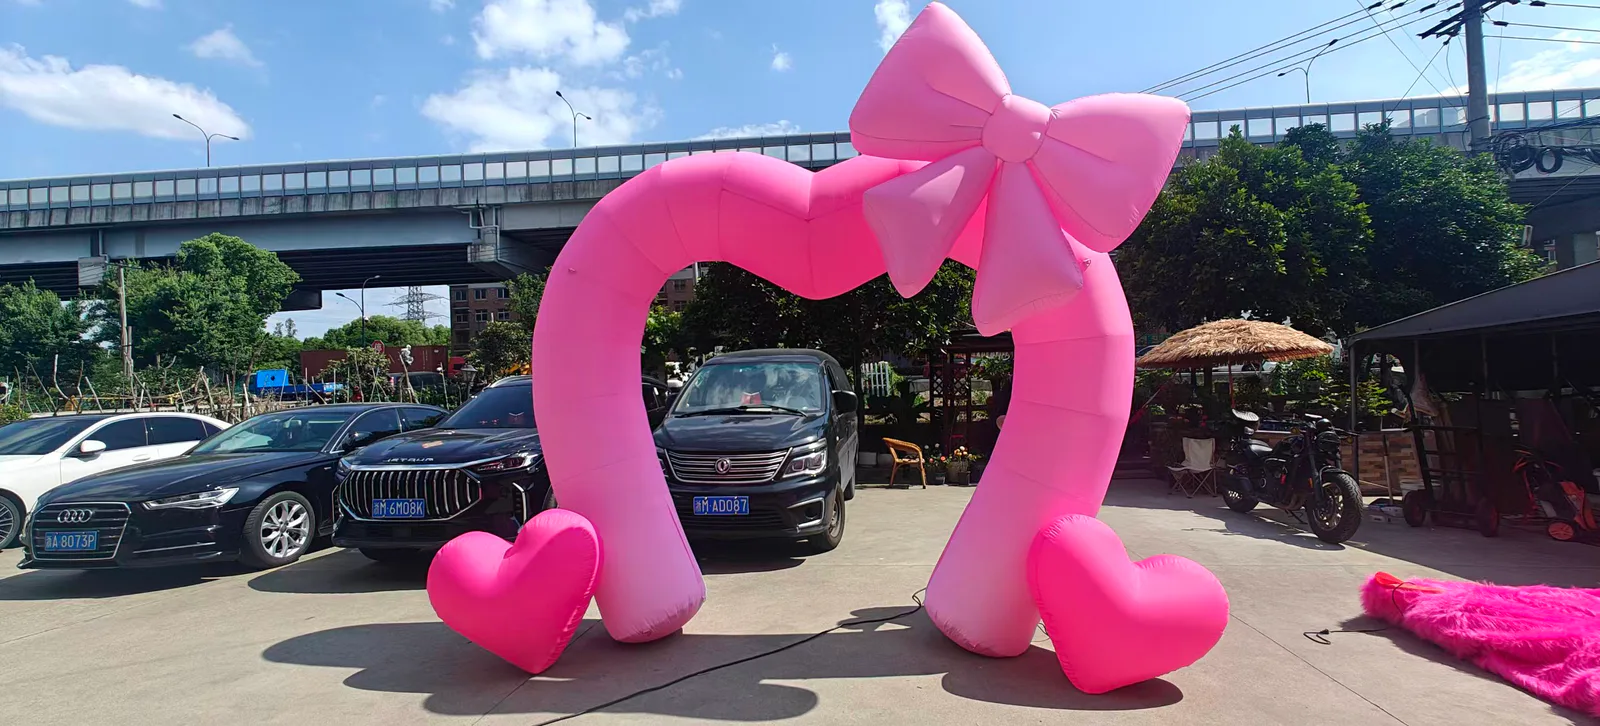
Explore three photographed arch directions for races, sports events, retail entrances and seasonal campaigns. Use the closest example to explain the shape, graphics and application you need.
 0102
 03
Site dimensions, clearance, viewing distance, audience flow and setup conditions all affect the right arch direction. Confirm those details before artwork and production begin.
01Plan the opening width, overall height and sponsor artwork around the route, viewing distance and participant flow.
02Turn your logo, campaign graphics or themed shape into a visible entrance for a booth, activation or temporary venue.
03Confirm the available frontage, installation area and brand message before the arch size and graphics are prepared.
A useful brief reduces guesswork. The factory can then turn your application, artwork and order requirements into confirmed production details.
Send your arch briefIntended use, installation area, size, quantity, logo or reference and target date.
Arch shape, dimensions, structure, material, graphics, inflation method, anchoring and packing.
Review the agreed drawing or specification and artwork placement before production begins.
The factory follows the approved product and order details.
Appearance, inflation effect, order details and included components are reviewed.
Planning a photo stop beside the entrance? Explore an inflatable photo booth or open photo zone.
Yes. Share the installation area, preferred dimensions, logo or reference image and intended use. The arch outline, dimensions and printable areas can then be discussed and confirmed for your project.
Send the intended use, available width and height, quantity, installation location, logo or artwork, delivery destination and target date. A photo or sketch of the site is also helpful.
The suitable structure depends on how and where the arch will be used, setup expectations and project requirements. Tell us about the application so the inflation method and related components can be confirmed with you.
The blower or valve requirement, tie points, anchoring and relevant setup accessories are discussed as part of the confirmed specification and order details.
Yes. The minimum order quantity is 1 piece, and bulk orders are also supported. Production takes about 15 days; include the quantity in your inquiry so packing and delivery can be planned.
The factory reviews the appearance, inflation effect, confirmed order details and included components before packing.
Our minimum order quantity is 1 piece. Every inflatable is made to order, so you can order a single custom piece or a bulk quantity.
Production takes about 15 days. Every product is fully custom, so size, shape and price are confirmed for each project rather than taken from a fixed list.
Include the intended use, site dimensions, quantity, logo or reference, destination and target date. The form will take you to a confirmation page after it is sent successfully.
Direct factory contact · MOQ 1 piece · About 15 days production