

Buyers often begin with an online photo and ask for “the same size.” The photo may show the style, but it does not show the route width, camera angle, anchoring space or venue limits behind that project. A better starting point is the usable opening your event needs.
Your custom inflatable arch must fit two things at once: the audience or traffic moving through it, and the site supporting the full structure around it. That means the specification should show both the clear opening and the overall finished size.
Define what passes through the arch, what must remain clear around it and where the branding needs to be visible.
Measure seven areas before asking for a size recommendation.
| Measurement | What to confirm |
|---|---|
| Route width | The usable path for runners, visitors, equipment or vehicles |
| Clear height | The vertical clearance required inside the opening |
| Site footprint | Total available width and depth, not only the route |
| Height limit | Venue, ceiling, sign or local restrictions on the overall structure |
| Anchoring zone | Available ground area and permitted attachment or anchoring locations |
| Equipment area | Location for the proposed blower, power supply and managed cables |
| Operating clearance | The clear area required by the venue or event operator around the setup |
Mark these dimensions on a site photo or simple plan. If the route narrows, slopes or turns near the arch, show that too. A plan helps the factory understand why an opening dimension matters and prevents the outside legs from being placed into an unavailable area.
For pedestrians and race participants
Tell the supplier whether people will walk, run, queue or gather beneath the arch. Include barriers, timing equipment, finish-line structures and the number of traffic lanes planned by the organizer. The event team should decide the required flow and clearance before approving the arch opening.
For vehicle entrances
Provide the maximum vehicle dimensions and the clearance required by the venue or operator. Consider mirrors, roof equipment, route alignment and turns—not only the body width. Emergency access and local safety rules belong to the event plan and should never be inferred from a product photo.
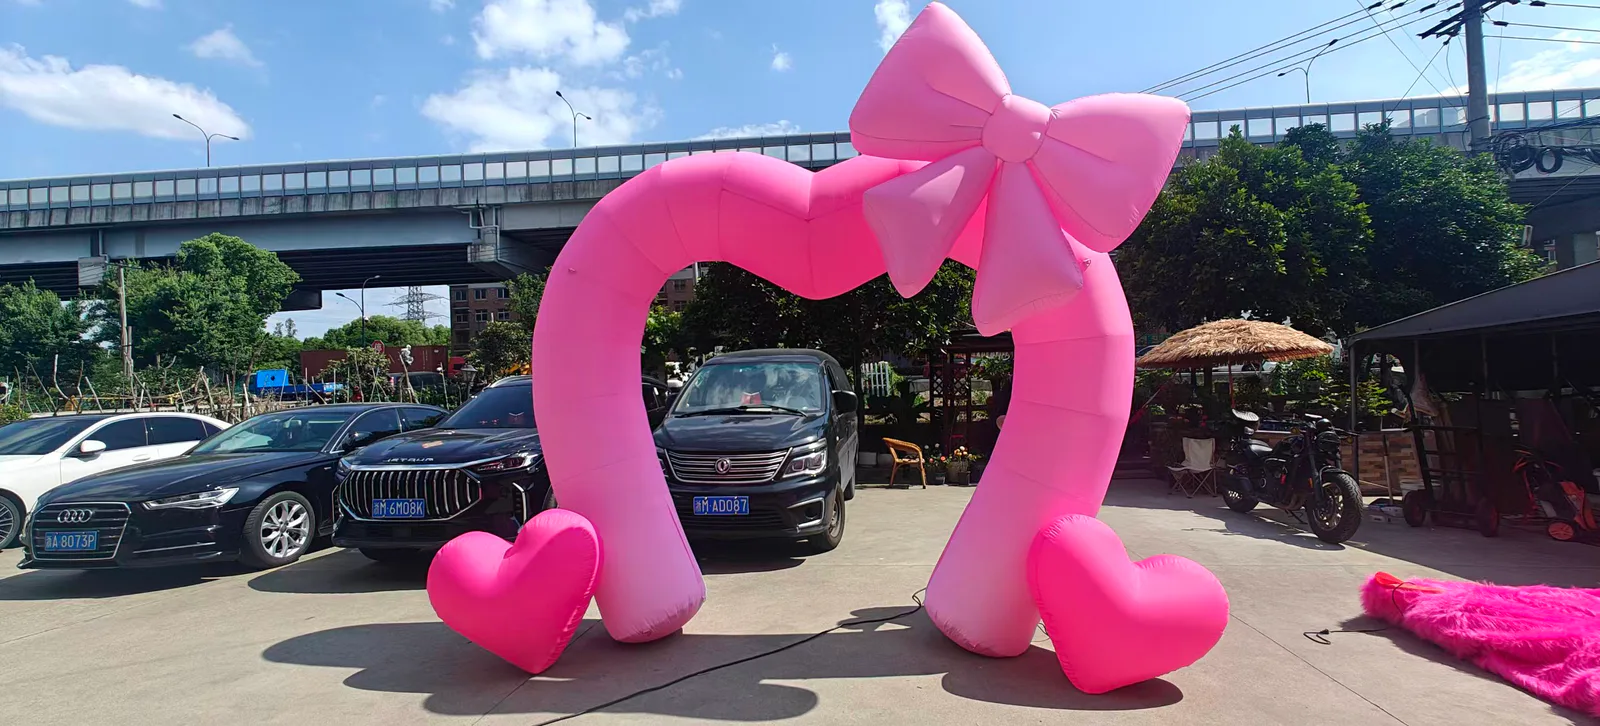
Size the branding for the way people approach and photograph the arch.
A technically suitable opening can still produce weak visibility if the message is too small, placed on the wrong face or hidden by the viewing angle. Show the main approach direction and estimate where the audience first needs to recognize the event or sponsor.
- Identify the primary viewing face and any secondary face that also needs graphics.
- Mark the logo, event name, directional message and sponsor areas separately.
- Explain whether the arch must frame participant photos or broadcast views.
- Check whether barriers, crowds, vehicles or nearby signs can block the lower areas.
- Supply vector artwork or the best available logo file before the print layout is approved.
Do not enlarge the whole arch only to solve a small artwork problem. Ask whether the top beam proportions, logo area or visual hierarchy can be adjusted while keeping the site fit. Size, shape and graphics should be reviewed on the same drawing.
Use the event type to reveal different sizing questions.
Race start or finish
Confirm route width, participant flow, timing equipment, sponsor visibility and camera direction.
Exhibition entrance
Confirm venue ceiling, booth footprint, visitor flow, neighboring structures and permitted power access.
Retail opening
Confirm frontage, doorway clearance, public access, viewing direction and the operating area available.
Vehicle gateway
Confirm maximum vehicle envelope, required clearance, route alignment and organizer-approved traffic plan.
These are prompts, not universal dimensions. The same event category can use different arch proportions because the site, flow and visual goal are different. Browse our custom inflatable gallery for form references, then send the measurements from your own location.
Avoid the measurements that create a false sense of certainty.
- Quoting only overall width: it does not tell the factory how wide the clear opening must be.
- Ignoring depth: the legs, equipment and anchoring area can extend beyond the visible front face.
- Using a photo as scale: perspective and unknown surroundings make image-based measurement unreliable.
- Forgetting the operating area: a product that fits on paper may conflict with barriers, cables or public circulation.
- Approving artwork separately: a shape change can alter logo area and a graphic change can alter the desired proportions.
- Leaving measurements until after the quote: a revised opening or height may change the quoted project scope.
Share the expected location and conditions so the proposed structure, equipment and anchoring direction can be discussed. The operator must follow the agreed instructions, weather limits, venue rules and local safety requirements.
Send one marked photo and one list of confirmed dimensions.
Label the clear route width, required clear height, full available width and depth, maximum overall height, anchoring areas, power location and main viewing direction. Add the intended users, logo, quantity, delivery destination and target arrival date. If a dimension is unknown, identify who will confirm it and when.
The factory can then discuss proportions and prepare a project-specific direction. If you are still deciding who should own and operate the equipment, compare inflatable arch rental with buying a custom arch. When the quote arrives, use our custom inflatable cost guideto compare the same included scope.
Discuss a custom arch around your event.
Send the opening, footprint, artwork, quantity, destination and target date.
Inflatable arch size FAQ
What size inflatable arch do I need?
Start with the required clear opening, not a standard product label. Measure the route or entrance width, required vertical clearance, available footprint, anchoring area and any venue limits. Then discuss the overall arch dimensions around those constraints.
Is the opening size the same as the overall arch size?
No. The overall width and height include the inflatable legs and top structure. Ask the drawing or specification to show both finished outside dimensions and the usable clear opening.
How do I size an inflatable arch for vehicles?
Provide the maximum vehicle width and height, the route alignment and the clearance required by the venue or event operator. Vehicle flow, turns, emergency access and local safety rules must be considered by the event team before a product size is approved.
How much space is needed around an inflatable arch?
The site needs more than the opening itself. Include the depth of the arch legs, the full footprint, anchoring zones, blower or equipment placement, cable management and a clear operating area. Ask the supplier to show these items for the proposed design.
What files help a factory recommend an arch size?
Send a site plan or marked photo, route width, height restrictions, intended users, viewing direction, logo placement, quantity, destination and target arrival date. Include a reference image if you want a particular silhouette.